Exclusive client gift
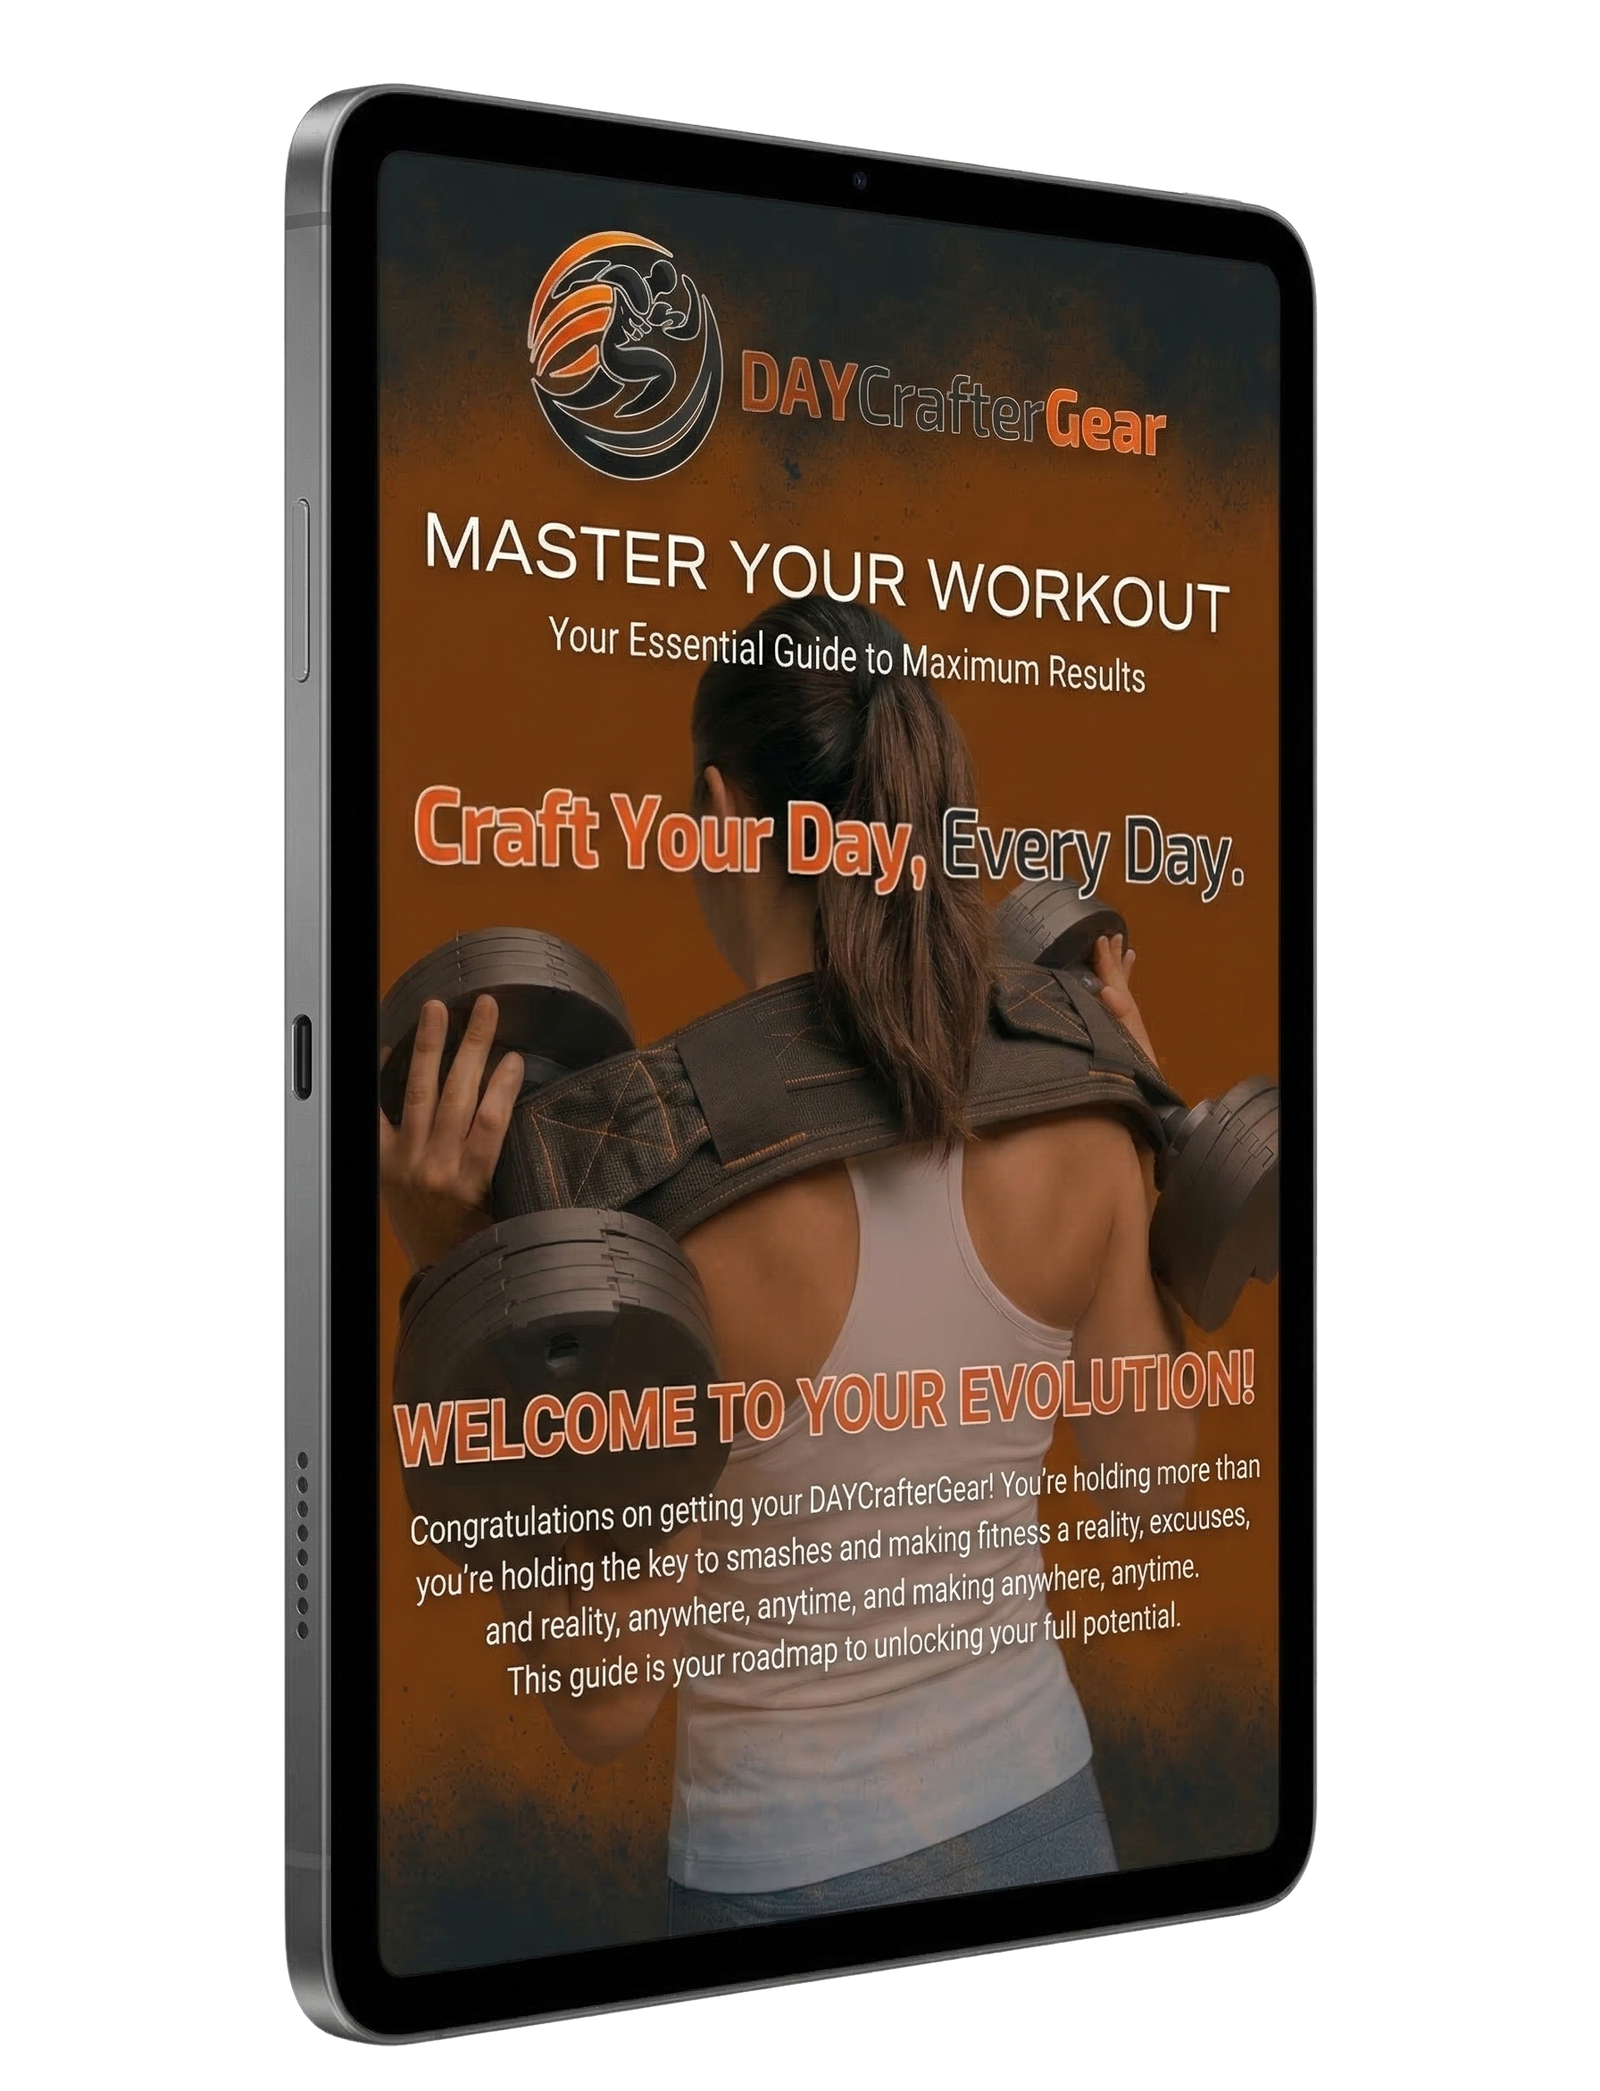
Welcome! An Extra Gift For You.
You’re in the right place for your setup videos. As a new DAYCrafter client, we also want to give you our exclusive EBook Training Guide. Subscribe to our client newsletter to get your free guide now, plus early access to new products and exclusive offers.
Master Your DAY-X
3 Modes · 3 Tutorials · Everything You Need
Step-by-step tutorials for every mode of the DAY-X.
Whether you already own one or you’re considering it — see exactly how the system works before you train.
How to Use This Page
Watch
Full video
First time, watch end-to-end. Feel the setup before you try it.
Follow
Step by step
Numbered steps beside each video — read at your own pace.
Train
Focus on reps
The DAY-X holds. The steel holds. Your only job is every rep.
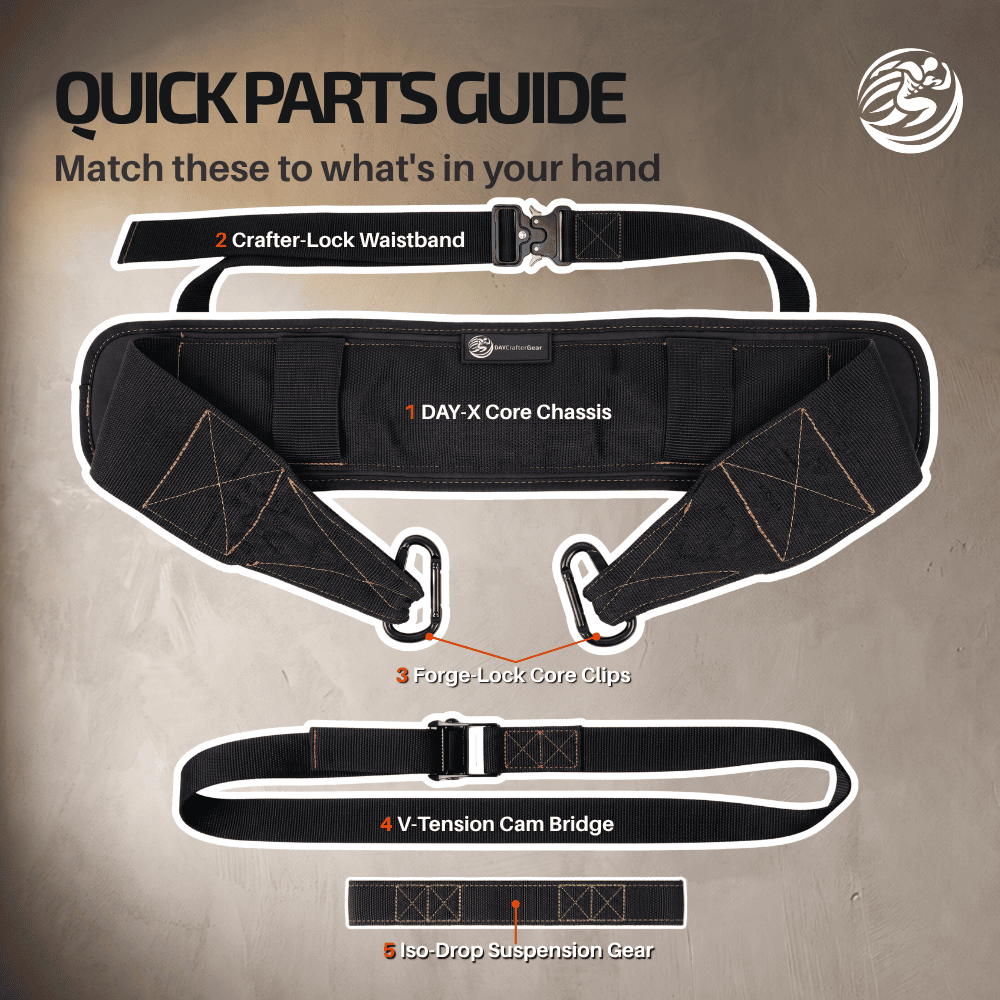
Maximum Stability.
Heavy hip thrusts with zero drift. The Crafter-Lock Waistband™ anchors the Chassis to your body — your weights stay locked horizontal, rep after rep.
Steps in this tutorial
Steps in this tutorial
Freedom & Versatility.
Two ways to train without anchoring the belt: free hip thrust, or yoke lock for squats, lunges, calf raises, and good mornings.
Remove the Crafter-Lock Waistband™ from the Core Chassis. Mode 2 does not use it — this step applies to both Block A (Free Hip Thrust) and Block B (Yoke Lock).
Steps in this tutorial (14)
Steps in this tutorial
Suspended Load.
Loads hang below your body. The Iso-Drop Suspension Gear™ transfers weight vertically through the Chassis — for belt squats, weighted dips, and weighted pull-ups.
Steps in this tutorial (13)
Steps in this tutorial
Extra Video Guides.
Short, focused refreshers for 01 Tethered and 02 Free Use. Watch the complete Mode tutorials first, then use these guides whenever you need a closer look.
Between-Set One-Side Release
For 01 Tethered · 02 Free Use
Step out between sets by releasing only one side, then reconnect the DAY-X without taking apart the entire configuration.
Unbuckle the Crafter-Lock Waistband™ first. The one-side release and reassembly process shown in the video remains the same.
V-Tension Cam Bridge Setup
For 01 Tethered · 02 Free Use
See how to route, connect, tension, adjust, and fully release the V-Tension Cam Bridge™ from a clear overhead angle.
This guide focuses on the V-Tension Cam Bridge. The Crafter-Lock Waistband difference between 01 Tethered and 02 Free Use is covered in the complete Mode tutorials above.
Still Have Questions?
We’ve Got Your Back.
If anything about the setup, configuration, or technique is unclear — reach out. We answer every Crafter personally.
Contact the DAYCrafterGear TeamDAYCrafterGear
Craft Your Day. Every Day.
Tutorials live here as long as you own the gear. Bookmark this page — come back any time you need a refresher.